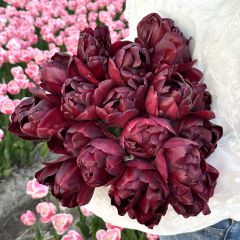
Planting tulips in pots
If you have a balcony or a small garden, or if you’re just tight on space, you can still grow tulips in your outdoor space by planting your tulip bulbs in pots. If you follow our tips and give your tulips the little bit of TLC they need to thrive, you can’t go far wrong – and you’ll get a fantastic display of tulips to enjoy all spring!
1. Choose the right variety
Which varieties of tulips are best for growing in pots? You can plant any variety in a pot, but varieties that don’t grow too tall are easiest. These tulips will keep their shape even in strong wind, and they are usually great bloomers too. You won’t need to add any supports, and you can use smaller, more shallow pots; shorter tulips are lighter, so their roots aren’t as long.
TIP: For a colourful display, put plenty of bulbs into your pot. Think about which colours would look good in the location where you intend to place the pot. There’s a list of suitable varieties at the end of this post.
2. Choose the right pot
The pot needs to be at least three times taller than your bulb (approx. 15 cm). It’s important that the pot is deep enough for the tulips to put out roots and to prevent the compost from drying out too quickly. Make sure that there’s a hole in the bottom of the pot to allow excess water to drain. You can plant your bulbs closer together than you would in the ground; make sure they are no more than one bulb width (4–5 cm) apart, or position them side by side if you prefer. Plant your bulbs in the compost. Place a layer of crocks, clay hydrogranules or gravel at the bottom of your pot to enhance drainage; tulip bulbs don’t like being wet.
You can use a plastic, ceramic or stoneware pot. Wood or metal containers or troughs can also work well, as can a zinc bucket or tub. Terracotta pots are not suitable for placing outside in winter as there’s a risk that they will freeze and crack.
TIP: For a cost-effective option, you can also plant your bulbs in the plastic buckets or builders’ tubs that you find in DIY stores. Drill a few holes (around 1 centimetre in diameter) in the base of the tub. Hide your ‘uglier’ buckets behind more attractive pots, or position them between other plants in your garden to create more height.
3. Choose the right time of year
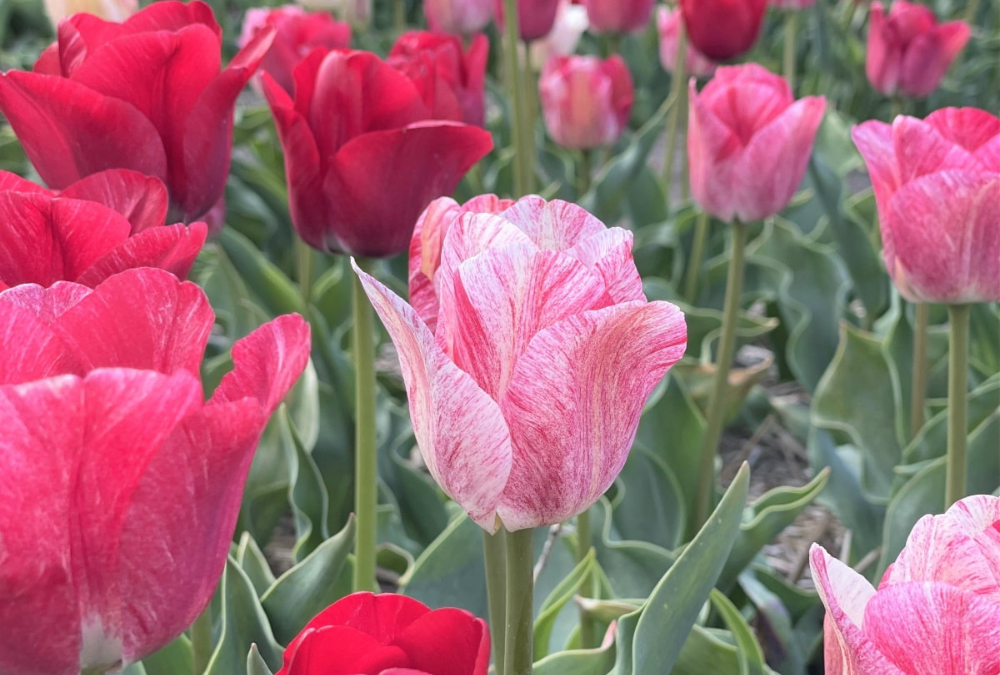
Plant tulips in pots from early October to the end of December. Get your bulbs potted up before the first overnight frost so that they have time to put out roots. You can leave them outside all winter, but make sure that the pots are protected against very heavy frost by adding a layer of straw or bubblewrap to the pot. You can also move your pots into the shed during very cold spells.
4. Fill the pots
Follow the steps below to fill your pots and make sure your potted bulbs turn into beautiful blooms:
- Place a layer of crocks, clay hydrogranules or gravel in the base of the pot to enhance drainage.
2. Scatter a layer of compost over the crocks, hydrogranules or gravel.
3. Plant the bulbs in the compost with the pointed end facing upwards. Use plenty of bulbs to create a colourful display.
4. Add a layer of compost (approx. 10 cm thick) on top of the bulbs and press it down firmly.
5. Finally, water the bulbs to help them put out roots quickly.
TIP: Plant winter-hardy violas on top of your potted-up bulbs and enjoy the flowers all winter. In spring, the tulips will emerge between the flowers!
5. Care
After planting your tulips in pots, water the pot lightly but don’t soak it. Use a watering can instead of a hose. Wait until the first green shoots start to emerge and continue to water the bulbs in dry periods. Check the compost regularly to make sure it’s not too wet.


